Coffee Ice Cream Dessert Recipes Easy Homemade Treats for Sweet Cravings
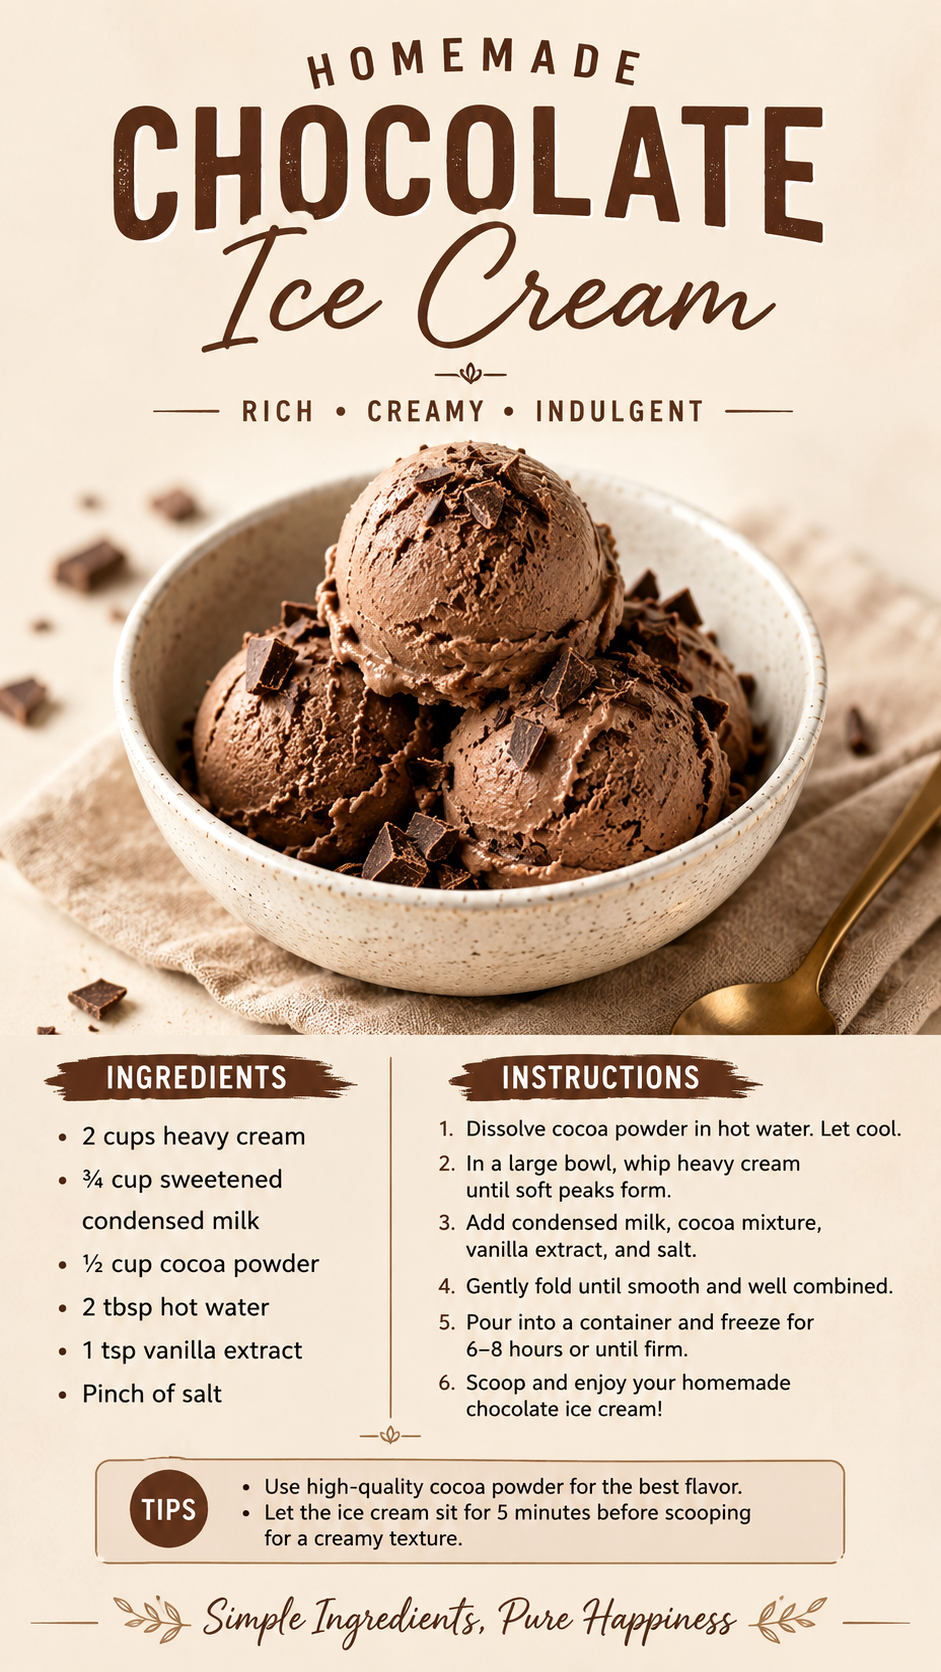
There is something wonderfully comforting about a scoop of homemade coffee ice cream. Rich, creamy, and filled with the deep flavor of coffee, this easy dessert is a simple way to turn a few everyday ingredients into a freezer-ready treat. The recipe shown here uses heavy cream, sweetened condensed milk, instant coffee, vanilla extract, hot water, and a pinch of salt, making it an approachable option when you want homemade ice cream without complicated equipment.
Key Takeaways
- This coffee ice cream needs only a handful of simple ingredients.
- Whipped heavy cream creates a light, creamy texture without an ice cream maker.
- Instant coffee gives the dessert its signature coffee flavor.
- Sweetened condensed milk adds sweetness and richness in one ingredient.
- A short freezer rest helps the mixture become firm enough to scoop.
Why Homemade Coffee Ice Cream Is So Easy
Traditional ice cream recipes can sometimes involve egg yolks, cooking custards, chilling mixtures, and using an ice cream machine. This version takes a much simpler approach. Instead of building a custard base, you whip heavy cream until soft peaks form and combine it with sweetened condensed milk and a concentrated coffee mixture.
The result is a no-churn style coffee ice cream that is especially appealing for busy home cooks. There is no need to monitor a stovetop custard or worry about an ice cream maker. Once the ingredients are combined, the freezer does most of the work.
Important: The texture depends heavily on properly whipped cream. Stop whipping once soft peaks form so the cream remains smooth and airy rather than becoming overly firm or grainy.
Ingredients for Creamy Coffee Ice Cream
The ingredient list is short, which is one of the biggest advantages of this homemade dessert. Each ingredient has a specific job in creating the final flavor and texture.
- 2 cups heavy cream: Provides the creamy, rich base and gives the mixture enough volume when whipped.
- 3/4 cup sweetened condensed milk: Adds sweetness while contributing a smooth, luxurious texture.
- 2 tablespoons instant coffee: Brings concentrated coffee flavor to the ice cream.
- 2 tablespoons hot water: Helps dissolve the instant coffee before it is added to the creamy mixture.
- 1 teaspoon vanilla extract: Adds warmth and rounds out the coffee flavor.
- A pinch of salt: Helps balance the sweetness and enhance the overall flavor.
Choosing the Coffee
Instant coffee works particularly well for this recipe because it dissolves quickly and creates a concentrated flavor without introducing extra liquid. For a more noticeable coffee profile, the recipe can be adjusted by adding an extra teaspoon of instant coffee, as suggested in the visual recipe.
Choose a coffee flavor you already enjoy drinking. A smooth instant coffee can produce a mellow ice cream, while a stronger blend can create a bolder dessert. Because the coffee is mixed into a creamy and sweet base, its flavor will taste softer once frozen than it does in the liquid mixture.
How to Make Homemade Coffee Ice Cream
This recipe is straightforward enough for beginners. The most important part is giving each stage enough attention rather than rushing the process.
1. Dissolve the Instant Coffee
Start by combining the instant coffee with the hot water. Stir until the coffee is completely dissolved, then allow the mixture to cool. Cooling is important because adding a hot coffee mixture directly to whipped cream can affect its texture.
2. Whip the Heavy Cream
Pour the heavy cream into a large bowl and whip until soft peaks form. Soft peaks should hold their shape briefly but still look smooth and flexible. This creates the airy foundation that gives no-churn ice cream its appealing texture.
3. Add the Flavoring Ingredients
Once the cream has reached soft peaks, add the sweetened condensed milk, cooled coffee mixture, vanilla extract, and a pinch of salt. Combine the ingredients gently. The goal is to distribute everything evenly without unnecessarily deflating the whipped cream.
4. Fold Until Smooth
Use a gentle folding motion to bring the mixture together. Scrape around the sides and bottom of the bowl as you fold so the condensed milk and coffee mixture are evenly incorporated. Stop when the mixture looks smooth and uniform.
5. Freeze Until Firm
Transfer the mixture to a suitable freezer container and freeze for approximately 6 to 8 hours, or until firm. A shallow, freezer-safe container can make the mixture easier to scoop later because the ice cream does not need to be dug out from a very deep container.
6. Let It Sit Briefly Before Scooping
When the coffee ice cream is fully frozen, let it rest for about 5 minutes before serving. This brief tempering period can make scooping easier and help produce smoother, more attractive portions.
Expert Insight
Coffee flavor can seem less intense after freezing, so the mixture should taste pleasantly coffee-forward before it goes into the freezer. If you want a stronger coffee ice cream, increasing the instant coffee slightly is an easy adjustment.
Tips for Better Coffee Ice Cream
Although this recipe is simple, a few small details can make a noticeable difference in the final result. Focus on texture, temperature, and balance.
- Cool the coffee first: Give the dissolved coffee time to cool before combining it with the whipped cream.
- Do not overwhip the cream: Stop at soft peaks for a smooth, airy mixture.
- Fold gently: Gentle mixing helps preserve the volume created by whipping the cream.
- Taste before freezing: Check the coffee intensity and sweetness before transferring the mixture to the freezer.
- Use a covered container: Keeping the ice cream well covered helps protect its flavor and texture while frozen.
- Allow a few minutes before scooping: A short rest at room temperature makes serving easier.
Pro Tip: For the best texture, avoid repeatedly leaving the entire container out to soften and then returning it to the freezer. Scoop the amount you need and keep the remaining ice cream cold and covered.
How to Serve Coffee Ice Cream
This homemade coffee ice cream is delicious on its own, but it also works beautifully as the base for other desserts. The creamy coffee flavor pairs naturally with chocolate, caramel, nuts, cookies, and other sweet toppings.
Serve a scoop in a chilled dessert bowl for a simple presentation. For a more indulgent treat, add a drizzle of chocolate or caramel sauce. Crushed cookies can provide a pleasant contrast to the smooth ice cream, while chopped nuts can add crunch.
You can also use coffee ice cream as part of an easy dessert combination. Place a scoop alongside a warm brownie or a slice of chocolate cake and allow the cold ice cream to soften slightly against the warm dessert. The contrast in temperature and texture makes a simple serving feel much more special.
Ways to Customize the Recipe
The basic coffee ice cream recipe provides a great starting point for experimenting with different flavors. Once you are comfortable with the base, small additions can create an entirely different dessert.
Chocolate Coffee Ice Cream
Chocolate and coffee are a classic combination. Add a chocolate element through a chocolate sauce, cocoa-inspired topping, or small pieces of chocolate folded into the finished mixture. Keep additions moderate so they do not overwhelm the coffee flavor.
Caramel Coffee Ice Cream
A caramel swirl can bring extra sweetness and a buttery note to the coffee base. Add the caramel in ribbons rather than completely mixing it in if you want visible swirls throughout each scoop.
Crunchy Coffee Ice Cream
For textural contrast, consider adding crushed cookies or chopped nuts. Fold them in gently near the end so the pieces remain distributed throughout the ice cream.
Common Mistakes to Avoid
The simplicity of no-churn ice cream does not mean technique is unimportant. A few common mistakes can affect the finished dessert.
- Adding hot coffee to the cream: Always allow the coffee mixture to cool before combining it with the whipped cream.
- Overmixing: Excessive stirring can reduce the airiness of the whipped cream.
- Under-whipping: Cream that has not reached soft peaks may produce a heavier final texture.
- Freezing in an uncovered container: Proper covering helps preserve the quality of the ice cream.
- Expecting a scoop immediately from the freezer: Homemade ice cream can be firm when fully frozen, so a few minutes of resting time can make serving easier.
When to Make This Easy Dessert
Coffee ice cream is a versatile dessert for many occasions. It can be prepared ahead of time for a family meal, weekend gathering, or casual dessert night. Because the mixture needs several hours to freeze, it is especially convenient when made earlier in the day or the night before serving.
It is also a useful recipe to keep in your collection when you want something homemade without spending hours in the kitchen. The ingredient list is uncomplicated, the preparation requires no stovetop cooking, and the finished dessert can be stored in the freezer until you are ready to enjoy it.
At a Glance
- Creamy no-churn coffee dessert
- Made with heavy cream and sweetened condensed milk
- Instant coffee provides rich coffee flavor
- Freeze for about 6 to 8 hours until firm
- Rest for about 5 minutes before scooping
Conclusion
Homemade coffee ice cream proves that an impressive dessert does not have to require complicated techniques or a long ingredient list. With heavy cream, sweetened condensed milk, instant coffee, vanilla, hot water, and a pinch of salt, you can create a rich and creamy frozen treat with a satisfying coffee flavor.
The key is to whip the cream carefully, cool the coffee mixture before combining it with the cream, fold everything gently, and give the ice cream enough time to firm up in the freezer. From there, you can enjoy it by the scoop or turn it into an even more indulgent dessert with chocolate, caramel, cookies, or nuts.
Final Tip: If you love coffee-flavored desserts, keep this easy homemade ice cream recipe on hand. It is simple enough for an ordinary sweet craving yet special enough to serve when you want a homemade dessert that feels truly indulgent.