No Bake Oreo Cheesecake Recipe Easy Creamy Dessert Recipes for Oreo Lovers
Few desserts are as inviting as a creamy Oreo cheesecake, especially when you can make it without turning on the oven. This no-bake Oreo cheesecake combines a rich cookie crust, a smooth cream cheese filling, and plenty of crushed Oreo cookies for a dessert that looks impressive while remaining wonderfully approachable. It is an excellent choice for birthdays, family gatherings, weekend treats, or any time you want an easy dessert that can be prepared ahead.
Key Takeaways
- This no-bake Oreo cheesecake is creamy, rich, and easy to prepare.
- A crushed Oreo crust provides a chocolatey base with plenty of crunch.
- Whipped cream helps create a light, smooth cheesecake filling.
- Chilling is essential for achieving a firm, sliceable texture.
- Extra crushed Oreos make a simple and eye-catching topping.
- Preparing the cheesecake ahead makes serving stress-free.
Why No-Bake Oreo Cheesecake Is So Easy
A traditional baked cheesecake can require careful temperature control, a water bath, and plenty of attention while it cooks. A no-bake version takes a much simpler approach. Instead of relying on an oven to set the filling, the cheesecake becomes firm as it chills in the refrigerator.
This makes no-bake cheesecake particularly appealing for beginner bakers. There is no need to worry about cracks caused by overbaking, and the preparation can be completed in stages. Once the cheesecake is assembled, the refrigerator does most of the work.
Important: The chilling time is not just a final step. It is what allows the creamy filling to become firm enough to cut cleanly, so give the cheesecake plenty of time to set before serving.
What Makes This Oreo Cheesecake Special?
The appeal of this dessert comes from the contrast between its different textures. The bottom layer is dense and chocolatey, while the cheesecake filling is soft, creamy, and dotted with pieces of Oreo cookies. A generous layer of crushed cookies on top adds another burst of chocolate flavor and gives the finished dessert a bakery-style appearance.
The image also highlights a simple presentation that works beautifully for homemade desserts. Whole or halved Oreo cookies can be arranged across the top, while a scattering of cookie crumbs fills the spaces between them. You do not need elaborate decorating skills to make this cheesecake look special.
The Oreo Crust
The crust is made with crushed Oreo cookies and melted unsalted butter. The cookie crumbs provide the chocolate flavor, while the butter helps bind everything together. Once pressed firmly into the bottom of a springform pan, the mixture creates a sturdy base for the cheesecake filling.
For the best result, crush the cookies into fairly fine crumbs. A few smaller pieces are perfectly fine, but very large chunks can make the crust harder to press into an even layer. Use the bottom of a glass, measuring cup, or the back of a spoon to compact the crumbs.
The Creamy Cheesecake Filling
The filling combines softened cream cheese, powdered sugar, vanilla extract, and heavy whipping cream. The cream cheese provides the classic tangy cheesecake flavor, while powdered sugar dissolves easily into the mixture and adds sweetness without creating a grainy texture.
Heavy cream is whipped separately until it reaches stiff peaks before being gently folded into the cream cheese mixture. This step is important because it introduces air into the filling, giving the cheesecake its soft, creamy consistency.
Ingredients You Will Need
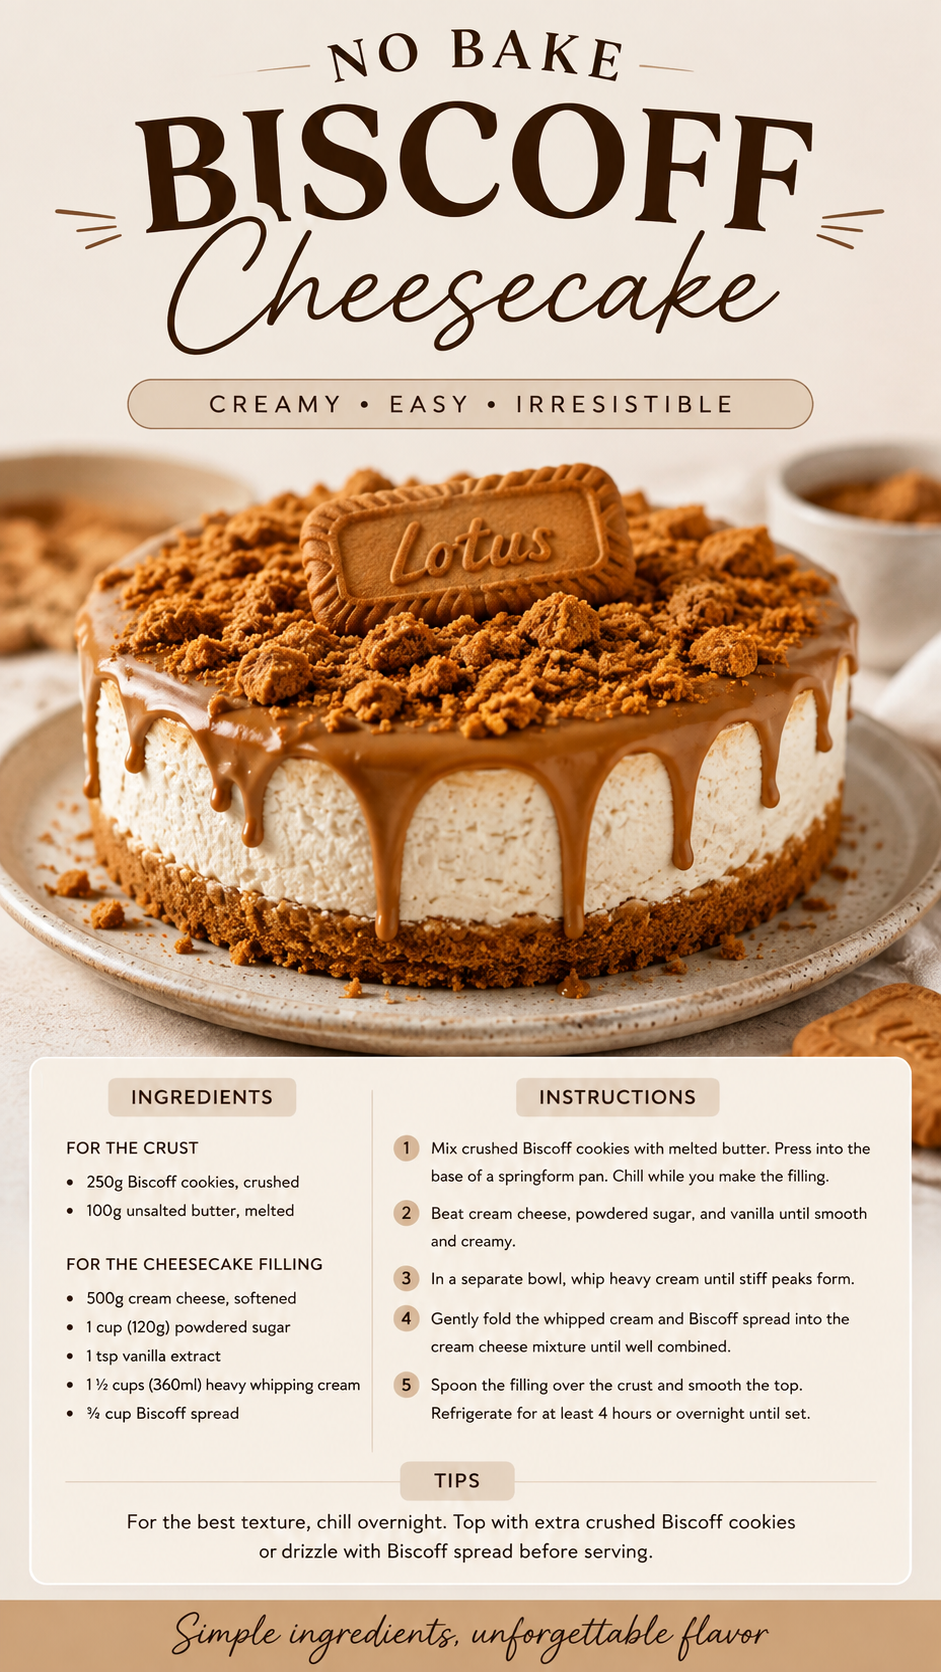
The ingredient list is pleasantly straightforward, which is one reason this recipe works so well for easy dessert planning. The quantities shown in the recipe design provide a useful starting point for a standard cheesecake.
- Oreo cookies: Used for both the crust and the filling, with additional cookies for decoration.
- Unsalted butter: Melted butter binds the cookie crumbs into a firm crust.
- Cream cheese: Softened cream cheese creates the rich cheesecake base.
- Powdered sugar: Adds sweetness and blends smoothly into the filling.
- Vanilla extract: Enhances the overall flavor of the cheesecake.
- Heavy whipping cream: Whipped cream gives the filling a lighter, airy texture.
How to Make No-Bake Oreo Cheesecake
1. Prepare the Oreo Crust
Begin by crushing the Oreos until they resemble fine crumbs. Mix them thoroughly with melted butter. Transfer the mixture to a springform pan and press it firmly across the bottom, creating an even layer.
Place the crust in the refrigerator while preparing the filling. Chilling the crust gives it time to firm up and makes it easier to add the creamy layer without disturbing the base.
2. Beat the Cream Cheese Mixture
Make sure the cream cheese is softened before mixing. Beat it with powdered sugar and vanilla until the mixture becomes smooth and creamy. Scrape down the sides of the bowl as needed so the ingredients are evenly incorporated.
Softened cream cheese is especially important here. Cold cream cheese can leave small lumps in the finished filling, while properly softened cream cheese blends much more easily.
3. Whip the Heavy Cream
In a separate bowl, whip the heavy cream until stiff peaks form. The whipped cream should hold its shape when the beaters are lifted. Avoid overmixing, since the goal is a fluffy whipped cream rather than a heavy or grainy mixture.
4. Fold in the Cookies and Whipped Cream
Gently fold the whipped cream into the cream cheese mixture. Add the chopped Oreo cookies and continue folding until everything is evenly distributed. Use a gentle motion rather than vigorous stirring to preserve the airiness of the whipped cream.
Expert Insight
- Soften the cream cheese before mixing for a smoother filling.
- Fold the whipped cream gently to keep the mixture light.
- Chill the assembled cheesecake thoroughly before attempting to slice it.
5. Assemble and Chill
Spoon the filling over the chilled Oreo crust and smooth the surface. Finish with additional crushed Oreos and whole cookies arranged across the top. Cover the cheesecake and refrigerate it for at least four hours, or preferably overnight.
Overnight chilling is particularly useful when you are preparing the dessert for an event. It gives the cheesecake plenty of time to firm up and allows the flavors to settle together.
Tips for a Smooth and Sliceable Cheesecake
A few small details can make a noticeable difference in the final texture. First, use softened cream cheese rather than mixing it straight from the refrigerator. This helps create a smooth filling without lumps.
Second, take your time when folding in the whipped cream. Overmixing can remove some of the air that gives the filling its light texture. Gentle folding is the better approach.
Finally, do not rush the refrigeration stage. A cheesecake that has not chilled long enough may be too soft to slice neatly. If you need clean slices for a special occasion, overnight chilling is an excellent option.
Pro Tip: For cleaner slices, chill the cheesecake thoroughly and use a sharp knife. Wiping the blade between cuts can help keep each serving looking neat and defined.
How to Decorate Oreo Cheesecake
The topping can be as simple or elaborate as you like. A layer of crushed Oreo cookies creates a rustic finish, while whole cookies add height and visual interest. You can arrange the cookies evenly around the edge, place them in a pattern across the center, or simply scatter them naturally over the top.
For a more polished presentation, smooth the cheesecake filling before adding the cookie crumbs. This creates a clean contrast between the pale cream layer and the dark chocolate topping. Serve the cheesecake on a simple cake stand or neutral serving plate to let the Oreo layers stand out.
When to Serve This Easy Dessert
No-bake Oreo cheesecake is versatile enough for many occasions. It can be prepared ahead for a family dinner, brought out as a weekend dessert, or served at celebrations when you want something that feels indulgent without requiring complicated baking.
Because the dessert needs several hours to chill, it is also well suited to entertaining. Prepare it the day before, refrigerate it overnight, and add any final decorative touches shortly before serving.
- Birthday celebrations
- Family dinners
- Weekend dessert tables
- Holiday gatherings
- Potlucks and casual parties
- Chocolate and Oreo-themed dessert spreads
Storing No-Bake Oreo Cheesecake
Because the filling contains cream cheese and whipped cream, the finished cheesecake should be kept refrigerated. Store it covered so it stays fresh and does not absorb other refrigerator odors.
If you are preparing it ahead, keep the cheesecake chilled until you are ready to serve. The cold temperature helps maintain the structure of the filling and keeps the dessert pleasantly firm.
Quick Points
- Crush Oreos finely for an even, sturdy crust.
- Use softened cream cheese for a smooth filling.
- Whip heavy cream until stiff peaks form.
- Fold gently to maintain a light texture.
- Chill for at least four hours, preferably overnight.
Conclusion
This no-bake Oreo cheesecake is a wonderful example of how a few familiar ingredients can come together to create an impressive dessert. The combination of a chocolate cookie crust, creamy cheesecake filling, chopped Oreos, and a generous cookie topping delivers plenty of texture and flavor without the need for an oven.
It is simple enough for a relaxed weekend project but attractive enough for a celebration. With a little preparation and enough chilling time, you can create a rich, creamy Oreo dessert that is easy to slice, easy to serve, and especially satisfying for cookie lovers.
Whether you are looking for an easy no-bake dessert, a creamy cheesecake recipe, or a crowd-pleasing Oreo treat, this recipe is one worth keeping in your dessert collection.