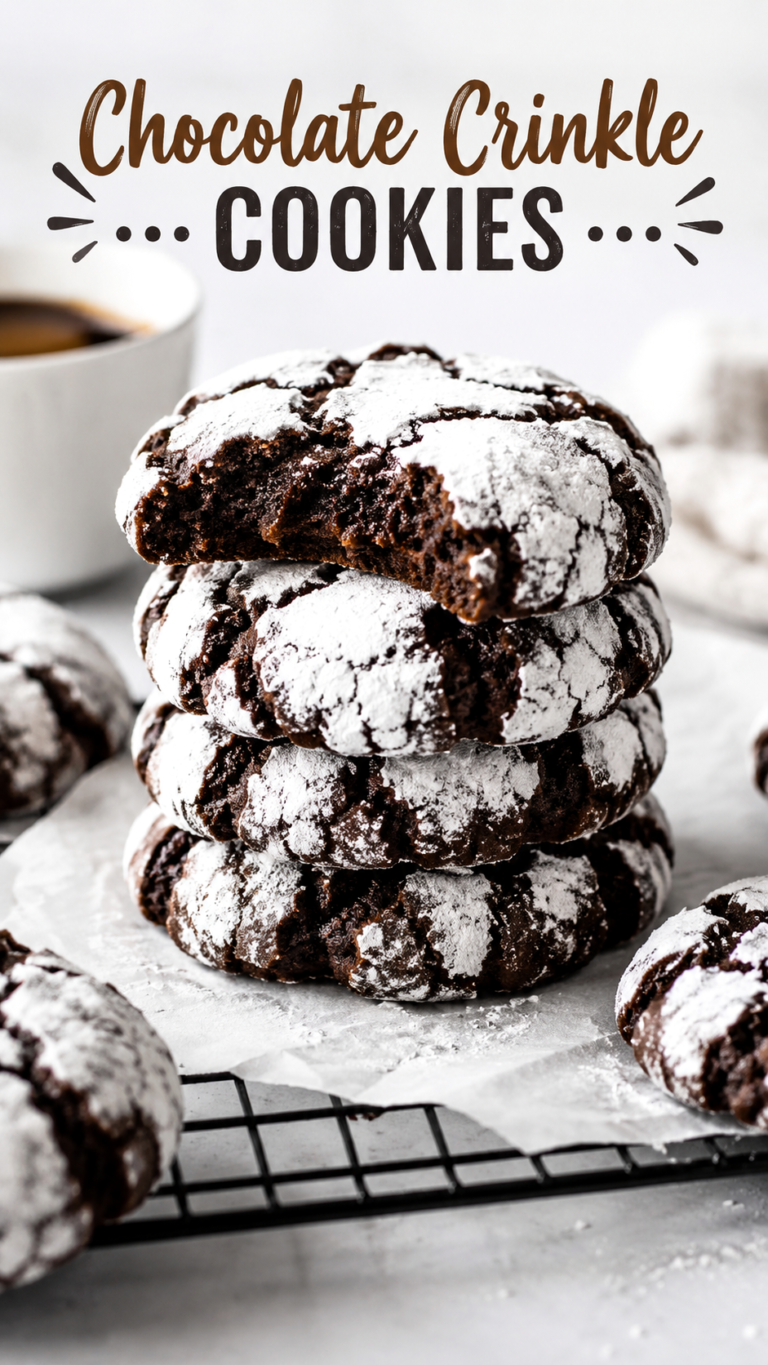
Red Velvet Chocolate Chunk Cookie Recipes Soft, Chewy Irresistible
Few cookies are as tempting as a batch of soft, chewy red velvet chocolate chunk cookies. These homemade cookies combine the rich cocoa flavor of red velvet with generous pieces of chocolate for a dessert that looks beautiful and tastes even better. Their deep red color makes them especially appealing for holidays, celebrations, Valentine’s Day, parties, or simply a cozy baking day at home.
The secret to their irresistible texture is simple: use softened butter, balance the cocoa with plenty of vanilla, add chocolate chunks for pockets of melted chocolate, and avoid overbaking. The finished cookies should look set around the edges while remaining soft in the center, creating that delicious chewy texture as they cool.
Key Takeaways
- Softened butter helps create a smooth, evenly mixed cookie dough.
- Cocoa powder gives these cookies their signature chocolate flavor.
- Chocolate chunks create rich, gooey pockets throughout every bite.
- Chilling the dough helps the cookies hold their shape while baking.
- Do not overbake if you want a soft, chewy center.
- Let the cookies cool briefly before transferring them to a wire rack.
Why Red Velvet Chocolate Chunk Cookies Are So Good
Red velvet cookies offer something a little different from traditional chocolate chip cookies. They have a noticeable cocoa flavor without becoming overwhelmingly rich, while red food coloring gives them the classic red velvet appearance. Adding chocolate chunks takes the texture and flavor even further, especially when the cookies are still warm and the chocolate is soft.
These cookies are also wonderfully versatile. You can serve them as an everyday dessert, arrange them on a holiday cookie platter, or package them as a homemade treat for friends and family. Their dramatic color makes them naturally eye-catching, while the familiar combination of chocolate and vanilla keeps the flavor comforting and approachable.
Important: The cookies may appear slightly soft when they first come out of the oven. That is exactly what you want for a chewy center. They continue setting as they cool, so removing them at the right moment helps prevent a dry, crumbly texture.
Ingredients for Homemade Red Velvet Cookies
The ingredient list is straightforward, making these cookies a great choice when you want an impressive homemade dessert without complicated techniques.
- Unsalted butter: Use softened butter to create a smooth, creamy base.
- Granulated sugar: Adds sweetness and contributes to the cookie structure.
- Brown sugar: Adds depth and helps create a softer, chewier texture.
- Large eggs: Help bind the ingredients and provide structure.
- Vanilla extract: Enhances the chocolate and red velvet flavors.
- Red food coloring: Gives the cookies their distinctive red velvet appearance.
- All-purpose flour: Provides the structure needed for thick cookies.
- Unsweetened cocoa powder: Brings the chocolate flavor without adding extra sweetness.
- Baking soda: Helps the cookies rise and develop their final texture.
- Salt: Balances the sweetness and brings out the chocolate flavor.
- Chocolate chunks: Add rich, melty chocolate throughout the cookies.
How to Make Red Velvet Chocolate Chunk Cookies
1. Cream the Butter and Sugars
Start with softened unsalted butter. Beat it together with the granulated sugar and packed brown sugar until the mixture is light and fluffy. This step is important because properly creamed butter and sugar help create a pleasant cookie texture.
Make sure the butter is soft enough to mix easily but not melted. Melted butter can change the structure of the dough and may cause the cookies to spread more than intended.
2. Add the Eggs, Vanilla, and Red Coloring
Beat in the eggs, vanilla extract, and red food coloring until the mixture is evenly combined. Scrape down the sides of the bowl if necessary so the coloring and wet ingredients are distributed throughout the butter mixture.
The amount of red coloring can be adjusted depending on the intensity of color you prefer. Mix thoroughly before moving on so the finished cookies have an even appearance.
3. Mix the Dry Ingredients
In a separate bowl, whisk together the all-purpose flour, unsweetened cocoa powder, baking soda, and salt. Combining these ingredients separately helps distribute the cocoa, leavening agent, and salt throughout the flour before they are added to the wet mixture.
4. Combine the Wet and Dry Mixtures
Gradually add the dry ingredients to the wet mixture. Mix until everything is just combined. Avoid excessive mixing once the flour has been incorporated because overmixing can make cookies less tender.
At this stage, the dough should be thick enough to scoop and shape. Fold in the chocolate chunks, distributing them as evenly as possible so each cookie gets plenty of chocolate.
5. Chill the Cookie Dough
Refrigerate the dough for about 30 minutes. This short chilling period gives the dough time to firm up, making it easier to scoop and helping the cookies maintain a thicker shape during baking.
Expert Insight
For thick, bakery-style cookies, avoid skipping the chilling step. A brief rest in the refrigerator firms the butter and makes the dough more manageable. It can also help reduce excessive spreading in the oven.
6. Scoop and Bake
Scoop portions of dough onto a baking sheet, leaving enough space between them for spreading. Bake at 175°C (350°F) for approximately 10 to 12 minutes.
The exact baking time can vary slightly depending on the size of the cookies and your oven. Look for edges that appear set while the centers still look soft. This visual cue is more useful than waiting for the entire cookie to look completely firm.
Pro Tip: If you want a soft center, resist the temptation to leave the cookies in the oven until they look completely baked. The residual heat continues cooking them after they are removed from the oven.
7. Cool Before Serving
Allow the cookies to cool on the baking sheet for about five minutes before transferring them to a wire rack. This short resting period allows the cookies to firm up enough to move without breaking while preserving their soft center.
Once cooled slightly, the cookies are ready to enjoy. If served warm, the chocolate chunks can remain wonderfully soft and melty, making them especially satisfying with a glass of milk, coffee, or your favorite hot drink.
Tips for Soft and Chewy Chocolate Chunk Cookies
Getting the ideal cookie texture comes down to a few small details. Since the ingredient list is simple, preparation technique has a noticeable effect on the finished result.
- Use softened butter: Room-temperature butter creams more effectively with the sugars.
- Measure flour carefully: Too much flour can produce a dry, dense cookie.
- Do not overmix: Stop mixing once the dry ingredients are incorporated.
- Chill the dough: A 30-minute chill helps create thicker cookies.
- Watch the oven: Begin checking around the 10-minute mark.
- Let them cool: The centers continue to set as the cookies rest.
How to Serve Red Velvet Cookies
These cookies are delicious on their own, but there are plenty of simple ways to turn them into a special dessert. Arrange them on a serving plate for a holiday gathering, add them to a dessert table, or serve them slightly warm for an especially indulgent treat.
For a festive presentation, you can pair the deep red cookies with simple white or neutral-colored serving dishes. The rich color of the cookies already creates plenty of visual appeal, so a minimal presentation works beautifully.
They are also a natural choice for cookie exchanges and homemade gift boxes. Stack completely cooled cookies in a food-safe container and separate layers if needed to keep them neat.
Storing Homemade Cookies
Once completely cooled, keep the cookies in an airtight container at room temperature. Proper storage helps maintain their soft texture and keeps them tasting fresh. Avoid sealing them while they are still hot, as trapped moisture can affect their texture.
If you are preparing the cookies ahead of time, the dough can also be useful to have ready for future baking. Chilling the dough before baking makes it easier to portion and allows you to bake fresh cookies when you want them.
Easy Ways to Customize the Recipe
The chocolate chunk format leaves plenty of room for small variations. Try using a mixture of chocolate pieces for different textures, or choose larger chunks if you enjoy generous pockets of melted chocolate.
You can also adjust the size of the cookies depending on the occasion. Smaller cookies are convenient for parties and dessert platters, while larger cookies create a more substantial bakery-style treat.
For the best results, keep the basic balance of the dough intact when making substitutions. Changes to the flour, butter, sugar, or eggs can significantly affect spreading and texture.
Quick Points
- Chill the dough for about 30 minutes.
- Bake at 350°F or 175°C for roughly 10 to 12 minutes.
- Look for set edges and soft centers.
- Cool for five minutes before transferring to a rack.
- Store fully cooled cookies in an airtight container.
Frequently Asked Questions
Why should cookie dough be chilled?
Chilling firms the butter and makes the dough easier to handle. It also helps the cookies retain a thicker shape while baking instead of spreading too quickly.
How do I keep red velvet cookies soft?
The biggest factors are avoiding overbaking and storing the cooled cookies in an airtight container. Remove them from the oven while the centers still look soft because they will continue to set as they cool.
Can I use chocolate chips instead of chunks?
Yes. Chocolate chips can be used when chunks are not available. Chocolate chunks simply create larger pockets of chocolate and give the cookies a more rustic, bakery-style appearance.
Final Thoughts on Red Velvet Chocolate Chunk Cookies
These red velvet chocolate chunk cookies bring together everything that makes homemade cookies so enjoyable: a tender texture, rich cocoa flavor, buttery sweetness, and plenty of chocolate in every bite. Their striking red color makes them especially memorable, while the straightforward preparation keeps them accessible for everyday baking.
With softened butter, a short dough chill, careful mixing, and a close eye on baking time, you can create cookies that are beautifully thick, soft in the middle, and satisfyingly chewy around the edges. Whether you are preparing them for a special celebration or simply craving a homemade chocolate dessert, this recipe is an easy one to keep in your baking rotation.
Tags
Red Velvet Cookies Chocolate Chunk Cookies Cookie Recipes Chewy Cookies Homemade Cookies Chocolate Desserts Easy Baking Recipes Red Velvet Desserts